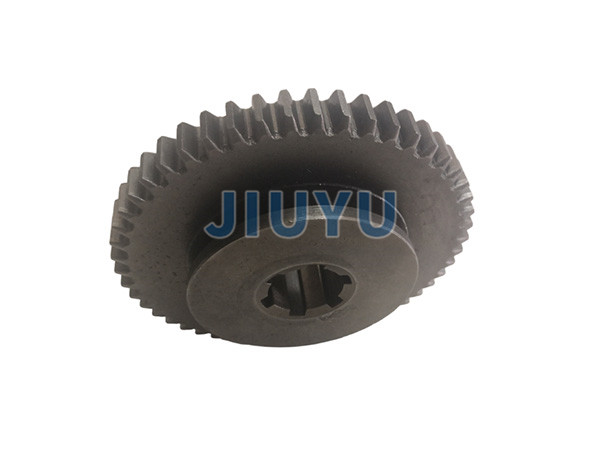
Introduce the relevant content of industrial sprocket processing, including precision control and quality inspection after processing
Processing accuracy control
Dimensional accuracy: The dimensional accuracy of the sprocket directly affects its fit accuracy and transmission efficiency with the chain.
. During the processing, it is necessary to strictly control the dimensional parameters such as the outer diameter, inner diameter, pitch, and tooth thickness of the sprocket. For example, by accurate tool adjustment and machine parameter setting, it is confirmed that the dimensional deviation in machining processes such as turning and milling is within the allowable range. Generally speaking, for sprockets with suitable precision, the tolerance of pitch is controlled within ± 0.05mm, and the tolerance of tooth thickness is controlled within ± 0.02mm Tooth profile accuracy: The accuracy of the tooth profile is crucial for the transmission performance of the sprocket. Adopting excellent processing techniques and meticulous cutting tools, such as using gear hobbing cutters or gear hobbing cutters with appropriate precision, and protecting the accuracy of the tooth profile through accurate indexing devices. At the same time, tooth profile inspection and correction are required after processing to confirm that the tooth profile error is within the specified range. For example, the contour error of the tooth profile is usually controlled within ± 0.05mm Position accuracy: The tooth distribution position on the sprocket and the position accuracy of the mounting holes also need to be strictly controlled. Through accurate fixture positioning and coordinate control of the machine tool, the uniform distribution of protective teeth and the accurate positional relationship between installation holes and tooth profiles are ensured. For example, the indexing accuracy of teeth should be controlled within ± 2&# 39; The position deviation of the installation hole should be controlled within ± 0.05mmQuality inspection
Appearance inspection: mainly check whether there are cracks, sand holes, air holes, burrs and other defects on the surface of the sprocket.
. The surface should be smooth, without obvious processing marks or scratches. For sprockets with surface treatment requirements, it is also necessary to check the quality of the surface treatment, such as whether the coating is uniform, firm, and whether there are any peeling or flaking phenomena Dimensional accuracy measurement: Use measuring tools such as calipers, micrometers, coordinate measuring instruments, etc. to measure various dimensions of the sprocket, including outer diameter, inner diameter, pitch, tooth thickness, aperture, etc., to confirm that the dimensions meet the requirements of the design drawings. During measurement, it is necessary to follow the prescribed measurement methods and measurement points to protect the accuracy of the measurement results Tooth profile accuracy testing: Use one-on-one tooth profile measuring instruments or projectors to test the tooth profile. By comparing with the standard tooth profile, measuring parameters such as profile error and tooth orientation error, evaluate whether the accuracy of the tooth profile meets the requirements. For sprockets with suitable precision, it may be necessary to measure the roughness of the tooth surface to protect its quality Hardness testing: Use a hardness tester to test the hardness of different parts of the sprocket and check whether the hardness after heat treatment meets the requirements. Generally speaking, the tooth surface hardness of the sprocket should reach HRC45-55, and the core hardness should be around HRC28-32 to protect the sprocket from both sufficient performance and good toughnessFlaw detection inspection: Use flaw detection equipment such as magnetic particle flaw detectors, ultrasonic flaw detectors, etc. to inspect the sprocket for defects such as cracks inside. Flaw detection inspection is particularly important for sprockets that bear large loads and operate at high speeds, as it can effectively prevent sprocket failure caused by internal defects


